Welcome to Bert Bat Con

To tell you the truth, this blog is about my meanderings in Miniature Wargaming. Enjoy.

Tuesday, June 14, 2011

Noisemaker 29 Games Played pt. A


Here are the initial deployments for the British. The French are on the hill...

Here the British start to cross the river. Artillery fire rains down on them.

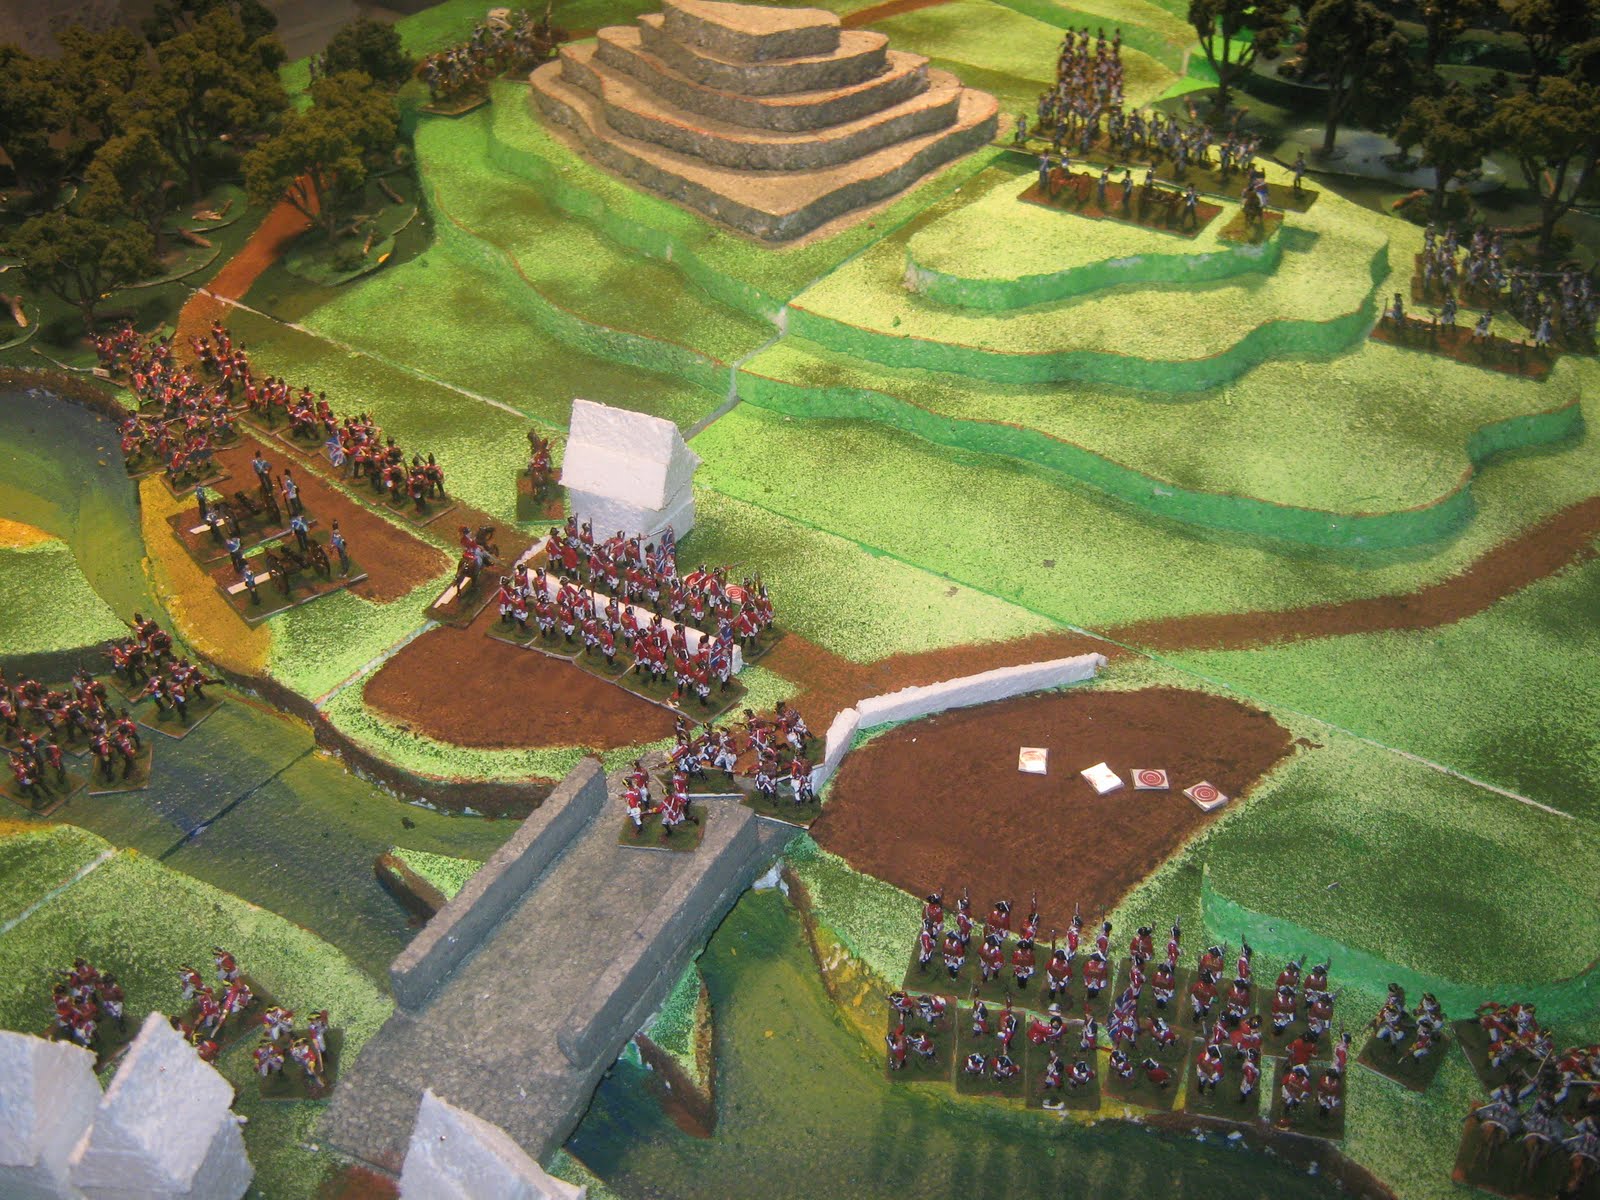
British crossing the river on the bridge.

Artillery fire heats up from the ridge.

The Brits get close the first time, within canister range even, but they are thrown back.

Here we see that the cavalry battle on the British right was a stalemate. Note the burning house, set ablaze by British artillery.
There is opportunity on the British left.
If the British can push, they can trap the entire French army by taking the defile...

The French realize the danger and begin to move, and the British advance on the ridge...

The French decide to try to stand against the British attack on their right, the British left.

On the British right, a second cavalry attack threatens the French artillery, left out to dry by the moving French cavalry.

The French cavalry make a foolhardy charge against a couple British artillery batteries. They are destroyed by canister shot.

The fighting on the British left. French reinforcements are continuously arriving.

The fighting on the British left stagnates, the French will get away, but not without a cost.

Wednesday, June 8, 2011

Noisemaker 28 Terrain Segment


Here is picture one... The 2x2 ft. section was made by using white polystyrene... It works good... Take a long look at a creek somewhere in your area to understand exactly how things work... There will generally be a bank, with some areas more accessible than others. These accessible areas will be perfect fore fords.


Here is picture two. I have painted the fields using green acrylic paint.


Here is picture three. I have flocked the green fields using dark green flock from a model railroad terrain flock.


Here is picture four. I have painted the "deep" areas of the creek with a dark blue. This is best done away from those areas where sandbars will naturally be. Again, take a long hard look at a creek in your area to see how this works in real life.


Here is picture five. I have added some light green, and I have begun to mix it with the dark blue. The dark blue and the light green will generally mix well to make the medium depths. Don't worry too much about the deepest depths, there will be a remnant of dark blue in the middle, even if you have to paint over it. If you are not satisfied, just add more dark blue after this step.


Here is picture six. I have added some yellow to the sides and mixed it with the green and the dark blue. The yellow areas are the shallowest areas of the creek. You can see that this gives a really nice sandbar effect in the creek, while still giving the illusion that there is water, even in the yellowish green areas. I really like this method of making creeks.


Here is picture seven. I like to paint the banks of the creek in an earthy tone... Perhaps there is a better color. I have not found one... Take your cues from real life.


Here is picture eight. I have added dark green areas where there will be forests. I have chosen to make the forests removable for ease of putting men there.